

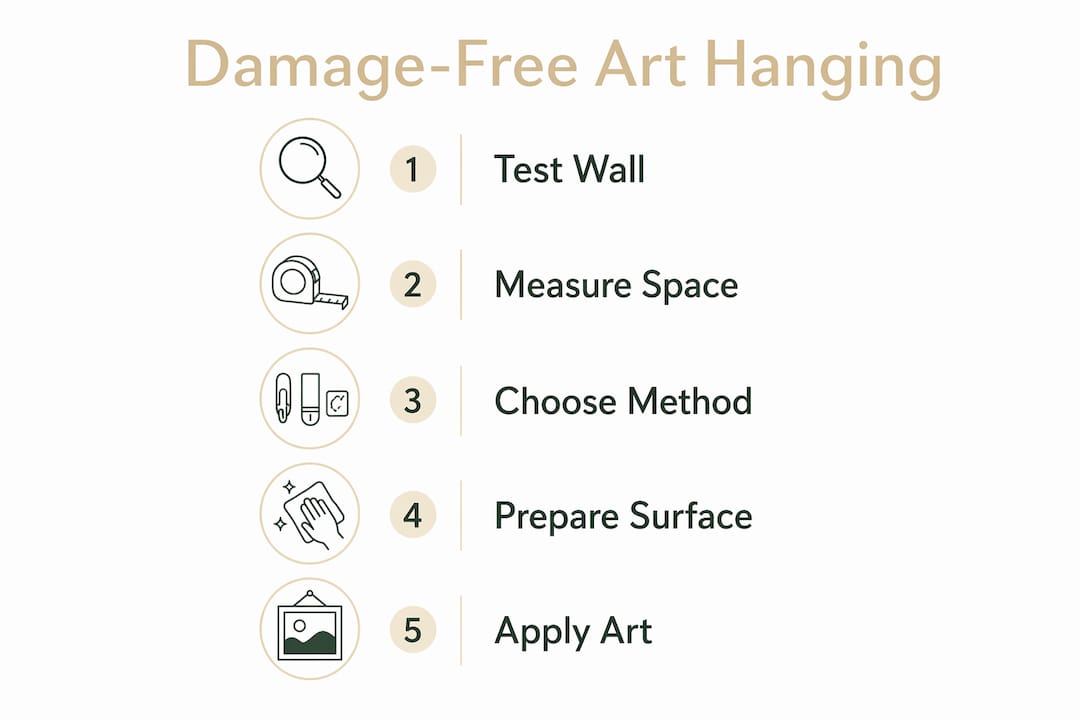
Yes, you can arrange art on rental apartment walls without risking your deposit. The key is matching your method to your piece’s weight: adhesive strips work well for frames under roughly 16 lb and narrower than 24 inches, while anything heavier or oversized belongs leaned on a ledge, console, or the floor. Before you touch a single strip, cut paper templates of your frames and mock the full layout on the floor or wall first.
- Adhesive strips: safe for pieces under ~16 lb and ~24 in wide; treat the manufacturer’s rating as a ceiling, not a target.
- Leaning: the right call for oversized or heavy pieces; intentional and design-approved, not just a fallback.
- First step: trace your frames onto craft paper, cut the templates, and tape them to the wall before committing to placement.
Table of Contents
- What to gather before you arrange art in a rental
- Five layout templates that work beautifully in rentals
- How to size and position art relative to your furniture
- Which hanging method is right for each piece?
- Finishing the look with lighting and styling
- Fixes for crooked frames, residue, and small holes
- How Calicuration helps you get the right print for your layout
- Matching art style to your rental’s interior
- Keeping art secure in high-traffic and pet-friendly rentals
- Key Takeaways
- Why we favor leaning and custom sizing in rentals
- Prints sized to fit your rental layout, from Calicuration
- References and further reading
What to gather before you arrange art in a rental
A smooth installation starts with the right supplies on hand. Gather these before you begin:
- Adhesive picture-hanging strips in small (~4 lb), medium (~6 lb), and large (~16 lb) sizes — use multiple strips across wider frames.
- Painter’s tape and craft paper for making frame templates.
- A small level or a free phone-level app.
- A tape measure and a small kitchen scale to weigh frames before choosing strip size.
- Felt pads to protect paint on baseboards and furniture edges.
Pre-hang checks: confirm the wall paint has cured for at least three weeks, and test one strip on a hidden spot first. Adhesives fail on textured surfaces, raw brick, wallpaper, and freshly painted drywall. Budget-wise, a complete renter-friendly setup — strips, a ledge, and basic tools — typically runs under $200 and takes 30–90 minutes for a small gallery wall.
Pro Tip: Check Calicuration’s sizing pages before ordering prints so each piece fits your planned layout without awkward cropping or an oversized frame that forces a damage-prone anchor.
Five layout templates that work beautifully in rentals
Choosing a layout before you hang anything saves time and keeps the wall feeling intentional.
| Layout | Best for | Spacing rule |
|---|---|---|
| Grid | Matching frame sizes; narrow walls above consoles | 2–3 in between frames; strict horizontal/vertical alignment |
| Salon cluster | Mixed sizes; collected, personal feel | Vary spacing slightly; anchor with one large piece |
| Triptych row | Wide walls above sofas or beds | Equal gaps; treat the trio as one horizontal unit |
| Centered single | One large statement print; minimal look | Center at 57–60 in from floor; lean if over ~16 lb |
| Leaning layered | Oversized pieces; ledges, consoles, floors | Bottom edge 2–4 in from baseboard; felt pads underneath |
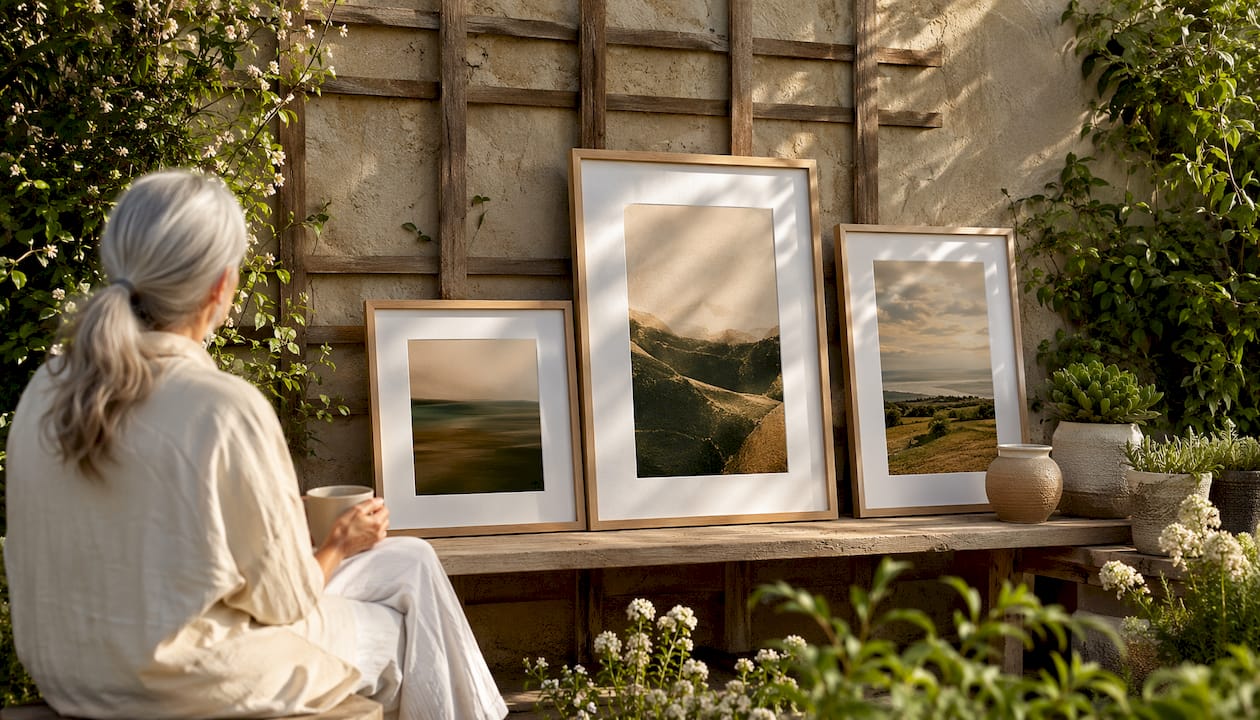
Leaning art signals ease — a curated, collected atmosphere that reads as intentional rather than improvised. It suits consoles, sideboards, and floors equally well, and it lets you rotate pieces seasonally without re-applying adhesive. For travel photography prints with strong horizontal compositions, a triptych row above a sofa is particularly striking. See our travel memory wall art ideas for layout inspiration built around photography.
How to size and position art relative to your furniture
Getting the proportions right is what separates a wall that feels finished from one that feels accidental.
| Placement scenario | Recommended measurement |
|---|---|
| Center height (single piece or group) | 57–60 in from floor to artwork center |
| Art above a sofa or bed | 6 in between furniture top and frame bottom |
| Spacing between frames in a cluster | 2–3 in |
| Art width vs. sofa width | Art or group spans roughly two-thirds of furniture width |
The 57–60 inch center rule applies whether you’re hanging a single piece or treating a gallery cluster as one unit. For a standard 84-inch sofa, that means your art or group should span roughly 56 inches wide. Map the arrangement with craft-paper templates first: trace each frame, cut the shape, tape it to the wall, and photograph it from your normal viewing distance. You’ll catch sizing problems before any adhesive touches the wall.
Custom sizing matters here. A print ordered at the right dimensions fits the layout without forcing you to use oversized frames that exceed adhesive limits. Calicuration’s wall art by material page shows available sizes across canvas, framed prints, and metal so you can plan dimensions before you order.
Which hanging method is right for each piece?
- Adhesive strips — use small pairs (~4 lb), medium (~6 lb), or large (~16 lb) per manufacturer guidance. Distribute multiple strips across wider frames. Always press firmly, wait one hour, then hang.
- Removable hooks and Velcro-style fasteners — good for odd-shaped items and pieces you rotate often; easy to reposition without re-prepping the wall.
- Picture ledges and adhesive-mounted rails — ideal for layering and swapping prints frequently without reapplying adhesive directly to each frame.
- Tension rods and freestanding solutions — the right call for textured walls, brick, or wallpaper where adhesives won’t bond reliably.
- Leaning — for anything over ~16 lb or wider than ~24 in. Rest the bottom edge 2–4 inches from the baseboard, angle the frame slightly back (5–7°), and add felt pads to protect paint and stabilize the tilt.
- Wall anchors or screws — only with explicit written landlord permission. Always note the safety risk of glass-fronted frames in humid rooms.
Pro Tip: For a ledge arrangement, use a slim floating ledge mounted with adhesive-backed hardware rated for the combined weight of all pieces you plan to layer on it — not just the heaviest single frame.
Adhesive strips fail on textured, raw wood, brick, wallpaper, or paint applied within the last several weeks. Always test on a hidden spot first.
Finishing the look with lighting and styling
Battery-operated or plug-in LED picture lights are the renter’s best tool for professionalizing a display without hardwiring. Choose warm LEDs around 2700K for a gallery-like glow that flatters photography and warm-toned prints.
- Floor lamps angled to wash the wall upward create soft, ambient illumination without a single hole.
- Clip lights with warm bulbs work well on shelves or ledges to highlight a leaned piece.
- Styling layers: add a small plant, a ceramic object, or a woven tray near a leaned print to give the arrangement depth and a collected feel. Our guide on displaying fine ceramics at home pairs well with this approach.
- Safety note: keep heat-producing fixtures away from paper prints and canvas; use UV-protective glazing for any piece in a sun-exposed spot.
Fixes for crooked frames, residue, and small holes
- Crooked frame: remove and re-seat the adhesive strips; add a felt bumper to one corner to correct the tilt; re-check with a level app.
- Adhesive residue: warm the strip with a hairdryer to soften it, then pull the release tab slowly straight down. Use an adhesive remover safe for painted walls; test on a hidden spot first.
- Small nail holes at move-out: a one-swipe spackle kit fills them cleanly. Sand lightly once dry, then touch up with matching flat paint.
- Canvas and paper care: rotate pieces away from direct sun when possible; keep humidity moderate to prevent warping or fading over time.
How Calicuration helps you get the right print for your layout
Custom sizing is where a lot of renters get stuck. A print that arrives too large forces a damage-prone anchor; one that’s too small floats awkwardly on the wall. Calicuration produces every piece on demand, so you can order to the exact dimensions your layout calls for.
- Substrate options: canvas (lightweight, no glass), framed prints with slim profiles, and metal prints that stay light enough for adhesive hanging at moderate sizes.
- Collections: the California wall art collection includes coast, desert, and city photography sized for grids, triptychs, and single-statement layouts. The abstract wall art collection suits minimalist rentals beautifully.
- Social impact: 5% of every order supports community initiatives in Los Angeles and New York City, and every piece ships on demand with no overstock.
- Gifting: if you’re choosing art for someone else’s rental, our guide on choosing art for someone else’s home walks through sizing and style decisions for any space.
Matching art style to your rental’s interior
The art you choose should feel like it belongs to the space, not dropped into it. A few principles help:
Warm-toned rentals with wood floors and linen textiles respond well to earthy photography: desert light, golden-hour coastlines, or sun-bleached architecture. Cooler, more minimal spaces — white walls, concrete, steel accents — suit black-and-white photography or abstract prints with muted palettes. Our California mood board examples show how different collections read across interior styles.
Scale matters as much as subject. One large print in a small rental reads as confident and intentional; a cluster of small frames on a large wall can feel scattered. When in doubt, go one size larger than feels comfortable — photography especially gains presence at scale.
Keeping art secure in high-traffic and pet-friendly rentals
High-traffic hallways and pet-friendly rooms demand a little extra thought. Leaned pieces on low consoles are the most vulnerable: a wagging tail or a brushed shoulder can send a frame sliding. A few practical fixes:
- Place rubber or silicone stoppers behind the bottom corners of leaned frames to grip the baseboard and prevent sliding.
- For hung pieces in busy corridors, use two adhesive strips per side rather than one, and check that the combined rating exceeds the frame weight with a comfortable margin.
- Avoid glass-fronted frames in rooms where pets or children are active; canvas or metal prints are safer and lighter.
- Mount pieces higher than a pet’s reach when possible, or choose ledge arrangements where frames sit flush against a wall with no forward lean.
- Check adhesive bonds monthly in high-humidity rooms like kitchens and bathrooms, where heat and moisture can weaken the bond over time.
Key Takeaways
Renter-friendly wall art arrangement works when you match the hanging method to the piece’s weight, mock layouts with paper templates before committing, and lean anything too heavy to hang safely.
| Point | Details |
|---|---|
| Weigh before you hang | Adhesive strips max out around 16 lb; use a kitchen scale before choosing strip size. |
| Template first | Trace frames onto craft paper, tape to the wall, and photograph before applying any adhesive. |
| Lean oversized pieces | Anything over about 16 lb or wider than 24 in belongs on a ledge or floor, bottom edge 2–4 in from baseboard. |
| Light your art | Plug-in or battery LED picture lights at ~2700K professionalize a display without hardwiring. |
| Calicuration sizing | Order prints to exact layout dimensions so frames stay light enough for adhesive hanging. |
Why we favor leaning and custom sizing in rentals
There’s a tendency to treat leaning as a fallback — something you do when hanging isn’t an option. We’d push back on that. A large print leaned against a console, slightly angled, with a small ceramic piece in front of it, reads as more considered than a row of frames drilled into drywall. It signals that the space was styled, not just decorated.
Custom sizing is the quieter half of this argument. When a print fits the wall it’s meant for, you never need to force a heavy anchor or accept an awkward crop. The piece arrives ready for the layout you planned, not the other way around. For renters who move every year or two, that flexibility is genuinely practical: the same print can anchor a new wall in a new city without needing a different frame or a different method.
We also think rotating art seasonally is underused. A leaned arrangement on a ledge takes about two minutes to swap out. That ease encourages people to actually change their walls, which keeps a rental feeling alive and personal rather than frozen at move-in day.
Prints sized to fit your rental layout, from Calicuration
The hardest part of arranging art in a rental is often finding a print in exactly the right size. Calicuration produces every piece on demand, which means you can order to the dimensions your layout actually calls for rather than working around standard retail sizes.
Canvas prints stay light enough for adhesive hanging at most apartment-friendly sizes. Framed prints come with slim profiles that suit grid and triptych layouts without adding bulk. Metal prints are a clean, lightweight option for single-statement walls. Browse the full canvas wall art collection or explore wall art by material to compare finishes and weights before you order. If you’re buying as a gift for a renter, our housewarming wall art guide helps you choose a size and format that works in any space.
References and further reading
- Renter With No-Holes Policy: How to Display Art — adhesive weight limits, leaning best practices, and surface compatibility.
- Gallery Wall Without Nails: A Step-by-Step Guide for Renters — craft-paper template technique and adhesive removal method.
- Renter Friendly Wall Decor: 20 No-Drill Ideas That Work — cost estimates and Command strip weight guidance.
- Hanging Wall Art in Apartments — design rationale for leaning as a stylistic choice.
- How to Display Art in Rental Homes Without Sacrificing Safety — LED picture light recommendations and heat-safety notes.
- How to Hang Art Without Damaging Your Walls — Calicuration’s own guidance on supporting heavier pieces in rental spaces.
- The Role of Wall Art in Interior Design — framing tips and design principles for homeowners and renters alike.